Archive for the ‘Furniture’ Category

Computer Desk . part 2.

Понедельник, 9 января, 2012

The computer desk is easy and inexpensive to build. Although we used oak, both for its strength and because oak veneer plywood is commonly available, almost any hardwood can be used. As shown in the plywood cutting diagram (Fig. 1), all the plywood pieces (the three shelves: parts A, B, and C; and the main shelf backing strips: parts D and E) can be cut from one half sheet of plywood. All the other parts for the desk can be cut with the table saw from standard 3/4 in. stock, When cutting the plywood use a plywood blade to provide a smooth cut and help prevent chip-out along the edges. Next, cut all the hardwood components, parts F through P. Half-lap the feet (L) and legs (M and N) as shown in the half-lap detail (Fig. 2), and notch the back legs to accept the two stretchers (O) as shown in the stretcher detail (Fig. 3).
(далее…)
Computer Desk

Понедельник, 9 января, 2012

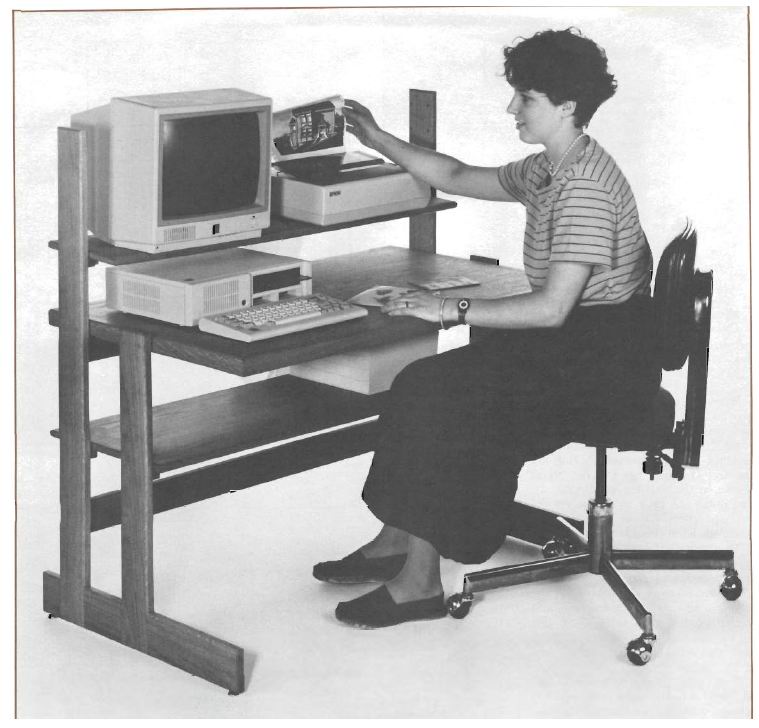
We held back as long as we could, but the computer revolution has finally penetrated even here to The Woodworker’s Journal. So, here it is at last — our computer desk. Although we know that many Journal readers own computers, it was our intention when designing this project to offer a piece that would also serve well as a regular desk for those readers who do not have a computer. We believe that the end product of our research is a handsome, versatile, functional design, whether you use it for a computer or as a traditional desk.
(далее…)

Gate-leg table. part 3.

Понедельник, 9 января, 2012

For the final assembly begin by making the two end frame and the two pivot leg assemblies. Also join the two side stretchers with the two remaining cross stretchers. Now join the end assemblies, the lower stretcher assembly and the side aprons to make the table frame. Note that the grooves in these side aprons, cut to accept the drawer guide support, are purposely cut oversize (long). This is done so the guide support can be angled into place after the table frame has been assembled. The drawer guide is also mounted at this time, although it should not be permanently glued until the drawer has been test-fitted for smooth opening and closing. A little paraffin on the guide will reduce friction and wear.
(далее…)

Gate-leg table. part 2.

Понедельник, 9 января, 2012

The upper apron assembly (parts В and С), end rails (D), pivot rail (H), and the drawer guide support (M) and drawer guide (N) are all standard mortise and tenon construction. Refer to the apron and rail tenon details for the specific dimensions of these tenons and to figure the corresponding mortises in the legs. When making the upper of the two end rails (D), note that several slotted and countersunk screw holes must be added in this piece, which also serves as a cleat for mounting the top. The top and leaves are made by gluing up stock, with the leaves then rounded out with a saber saw. Refer to the Special Techniques feature beginning on page 22 for detailed instructions on how to make the rule joint shown in the rule joint detail.
(далее…)

Gate-leg table

Понедельник, 9 января, 2012

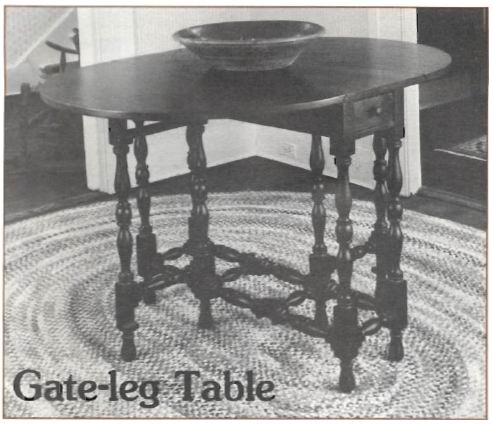
The gate-leg table is a classic furniture design, one that is characteristic of and first became popular during the William and Mary period. Although our table is not an authentic William and Mary antique, it is a fine turn-of-the-century reproduction in the William and Mary style. The table is from the collection of The Washington Historical Museum, a fascinating museum of Early American, Colonial, and period furnishings located in the picturesque little town of Washington, Connecticut.
(далее…)

Furniture Periods and Styles William and Mary, 1690-1725. part 2

Понедельник, 9 января, 2012


(далее…)

Furniture Periods and Styles William and Mary, 1690-1725

Понедельник, 9 января, 2012


(далее…)